What is your favorite shade of nail colors? For many of us, the first memory of manicure goes back to early childhood when one would experiment with the nail colors, applying them clumsily on the nails. While the result was nothing less than a total mess, it made us feel so much more elegant, beautiful, and grown-up.
Fast forward many years, and we are introduced to a variety of manicure options, including acrylics, gel manicures, and dip powder manicures. If you have never tried a manicure using an OPI dipping powder kit before, the chances are high that you favour OPI gel or acrylics.
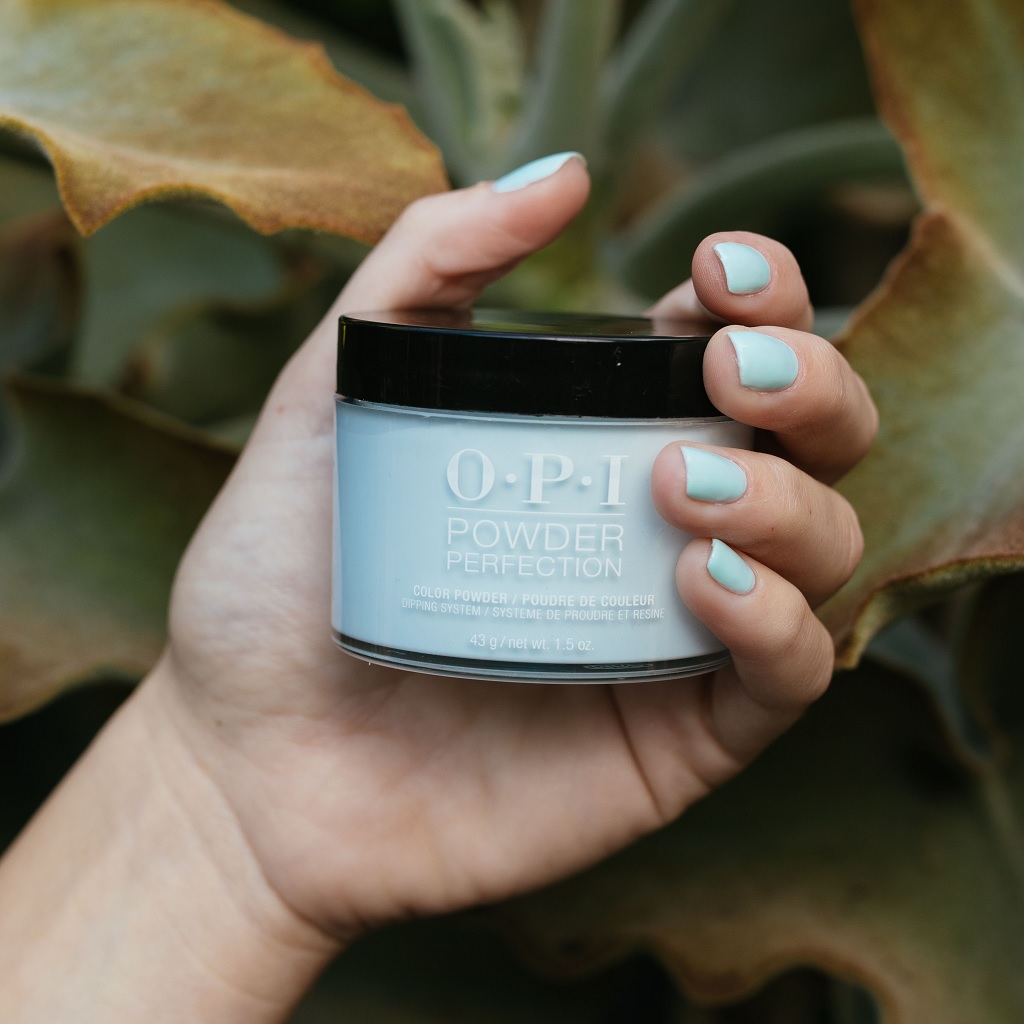
What to Know Before You Apply the Powder
In this process, you dip your nails into a fine powder of the color of your choice and glue it onto your nails with the help of an adhesive. With the best OPI nail dipping kit and the correct technique, you can make your manicure last longer than acrylic and lacquer nails.
It also takes less time to apply OPI nail powder than the usual manicure. Besides, you will have the peace of mind that you aren’t damaging your nails by applying harsh chemicals usually required for the removal process compared to OPI gel and acrylic nails.
How to Apply OPI Dipping Powder Kit
If you want to make the most out of your efforts, we recommend visiting a nail technician. However, if you’re repulsed by paying a lot of money for a manicure, you can do it at home as well, provided that you do it right.
Not to forget, nail manicure entails having all the right materials around, along with a detailed guide of how to do everything that will help you achieve your goal. Still, we will guide you through the process, so continue reading:
Prepare Your Nails
Before you visit a salon or decide to do it yourself, ensure that your hands are well sanitised. After all, cleaner nails will help the gel nail sit firmly on the texture of their surface. Secondly, if you want to begin with applying the dip to your natural nails, prepare them ahead of time. Begin by focusing on the cuticles and cleaning the dead tissues from your nails.
Once done, remove the shine from the surface of your natural nails and bring them to the desired shape. Ensure to focus on the edge of each of your nails before proceeding to the next step.
Use a Bond for Your Nails
Once you have cleaned your nails, wiped them, sanitised them, and removed dead tissues, you’re ready for the next step. Contrary to popular belief, a bond can easily be applied to the natural nail without much effort.
Using a bond is essential as it will declutter your nail from excess oils by dehydrating it. As a result, any residue will appear on the surface of your natural nails.
Use a Base and Clear Powder
The next step is to grab your base and leave one-quarter of the surface of your nails. When applying, try to apply a thin layer so that the application can be smooth and sturdy. Use the natural dip powder that has been provided to you in the kit. Ensure to dip the nails at an angle of 45 degrees.
Once you use a fluffy and soft brush to remove excess powder, it will help you get a flawless look for your nails. Once done, you will witness a stunning look of your nails, one that will make you stand out in a large crowd. For this to happen, you’ll have to purchase the OPI dipping kit for best results.
Use the Base and Dip It Again
Once done, choose a dip powder color that you like. Use the base again and apply it to your nails. Always have a dip powder ready in line because the base gets dried within a few seconds. Next, dip the base at a 45-degree angle and shake the powder before it falls off.
Use your fluffy brush to dust off dirt again. Once done, let the texture stand firm on the surface of your nails, and don’t make it move too much.
Final Thoughts
If you are a fan of different nail art and nail designs, you can customise the OPI dipping powder kit. The best part of doing your manicure using the OPI dipping powder kit is that you don’t need a UV light, which means you are saving loads of time. The removal process requires acetone, so you should include a nail strengthener in your kit to maintain the health and strength of your nails. Thanks to OPI gel colors and powder, it is much easier for everyone to rest assured about having their nails look exquisite and stunning without much effort.


